Do you love candles, but don’t want to support the animal testing and exploitation that goes into making conventional candles?
If so, then this blog post is for you! In this post, we will teach you how to make vegan candles at home using an easy and affordable method.
You will be able to make beautiful, natural, scented candles that will fill your home with a wonderful aroma.
So what are you waiting for? Read on to learn how it’s done!
Vegan Candle Making Supplies
Table of Contents
The candle-making process is pretty straightforward but a lot of fun.
First, you will need to gather your supplies.
For this project, you will need vegetable shortening, soy wax flakes, essential oils, candle wicks, and glass jars or tins. You can find all of these items at your local craft store or online. Once you have all of your supplies, you are ready to get started!
- vegetable shortening
- soy wax flakes
- essential oils (or synthetic fragrance oils)
- candle wicks
- glass jars or tins
Instructions:
Melt the Wax
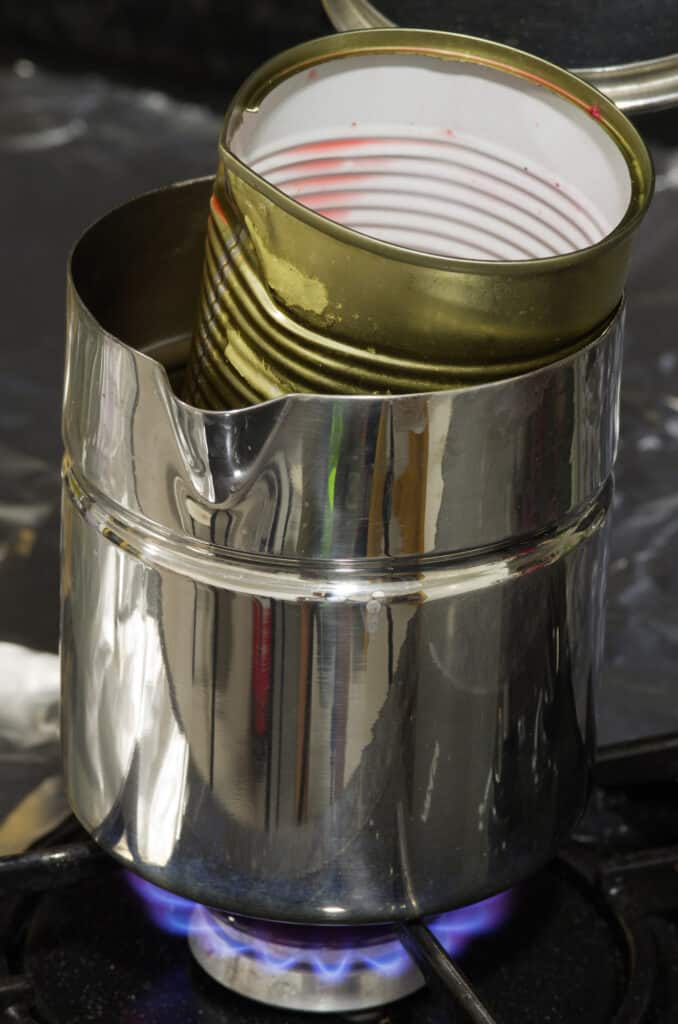
To begin, melt the vegetable shortening in a double boiler over low heat.

A wax double boiler is two pots in one. The bottom pot holds hot water and the top pot rests on the rim of the bottom pot, allowing it to float.
This indirect heat melts the wax in the top pot without burning it. You can find a wax double boiler at most craft stores.
If you don’t have one, you can easily make one at home with two pots that fit snugly together. Just be sure to use caution when handling hot wax.
Wax double boilers are great for melting large quantities of wax or for melting wax that has a high melting point.
They are also handy if you need to keep your melted wax at a consistent temperature.
How much wax you use is completely dependent on how many candles you would like to make. But plan on something like 7-9oz (vegetable shortening and soy wax combined total) for a medium-sized candle.
The proportion of vegetable shortening to soy wax for a candle is approximately three parts soy wax to one part vegetable shortening. This ratio can be adjusted depending on the desired results. For example, if you want a softer candle, you would use more vegetable shortening.
Once it is completely melted, add the soy wax flakes and continue to stir until they are melted as well.
Next, remove the mixture from the heat.
The temperature to remove your wax from heat for a candle is around 185 degrees Fahrenheit. This will ensure that the wax is melted and ready to be used. If the wax is not at this temperature, it will not be able to properly hold the wick in place. Therefore, it is important to monitor the temperature of your wax carefully.
One way to tell the temperature of melting wax is by using a candy thermometer. Another way is to use the “cold water test.” To do this, you’ll need a cup of cold water and a spoon.
First, take a small amount of the wax and drop it into the cold water. If it hardens immediately, then the wax is too cool and needs to be heated up more. If it forms a soft ball that flattens when you press on it, then the wax is just right. But if it forms a hard ball that doesn’t flatten, then the wax is too hot and needs to be cooled down.
Add the Fragrance to the Wax
Now’s the time to add your essential oils to scent the candle.

There are many places to buy essential oils, but some of the best places are online. There are many reputable essential oil companies that sell high-quality oils at reasonable prices. You can also find essential oils at health food stores, natural product stores, and some pharmacies. For DIY Vegan candles, you will mostly need to use only pure essential oils. When buying essential oils, be sure to read the labels carefully so that you know what you are getting. Also, be sure to buy only from reputable sources so that you can be sure of the quality of the oil.
We recommend a blend of citrus and floral scents for a beautiful aroma.
The amount of essential oil you add to your candle will depend on the size and type of candle, as well as your personal preferences. Start by adding a few drops (try a dozen) of essential oil to your candle, then increase or decrease the amount until you find the perfect scent strength for you. Remember that too much essential oil can cause your candle to smoke, so be sure not to add too much at once.
Be sure to stir well so that the oils are evenly distributed.
Now, it’s time to prepare your jars or tins.
Prep the Jar and Wick
The first step is to find a candle wick that is the right size for your jar.

When choosing a wick for your candle, it’s important to take the jar size into account. A wick that is too small will cause the candle to burn too quickly, creating a tunnel through the wax, while a wick that is too large will result in a lot of soot being produced.
This is also a difficult question to answer because it depends on the size and type of candle you are making. If you are making a candle with a wide-open surface, you will likely need two wicks. If you are making a smaller, votive-style candle, you may only need one wick. Ultimately, it is up to you to experiment with your candles to see what works best. Start by making a small batch of candles with different wick combinations and see how they burn.
Cut the wick to be a few inches longer than the height of your jar. You can use scissors or a knife to do this.
Next, take the bottom end of the wick and dip it in melted wax (this usually has a metal disc attached to it. This will help the wick stick to the bottom of the jar. Press it into the base of the jar. Wait for the wax to cool sticking the wick to the jar.
Pour the Wax
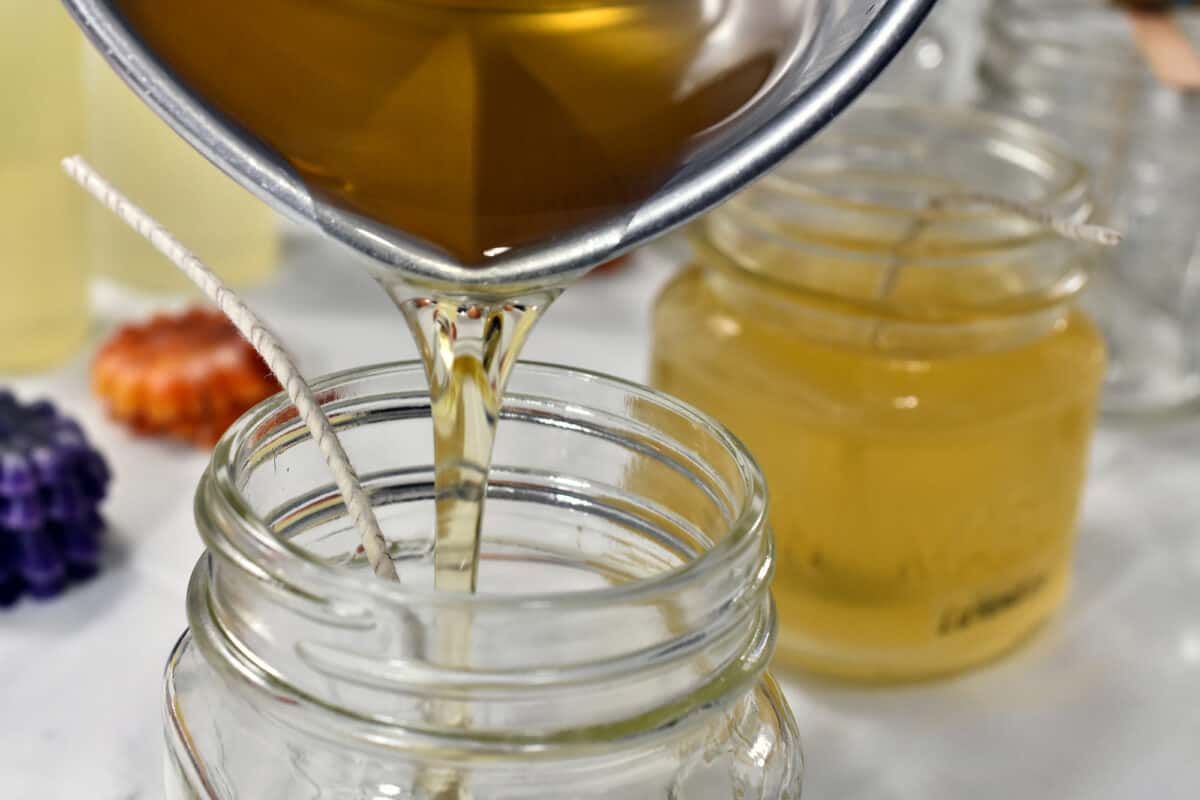
Then, carefully pour the wax mixture into each jar or tin, being sure not to overfill it.

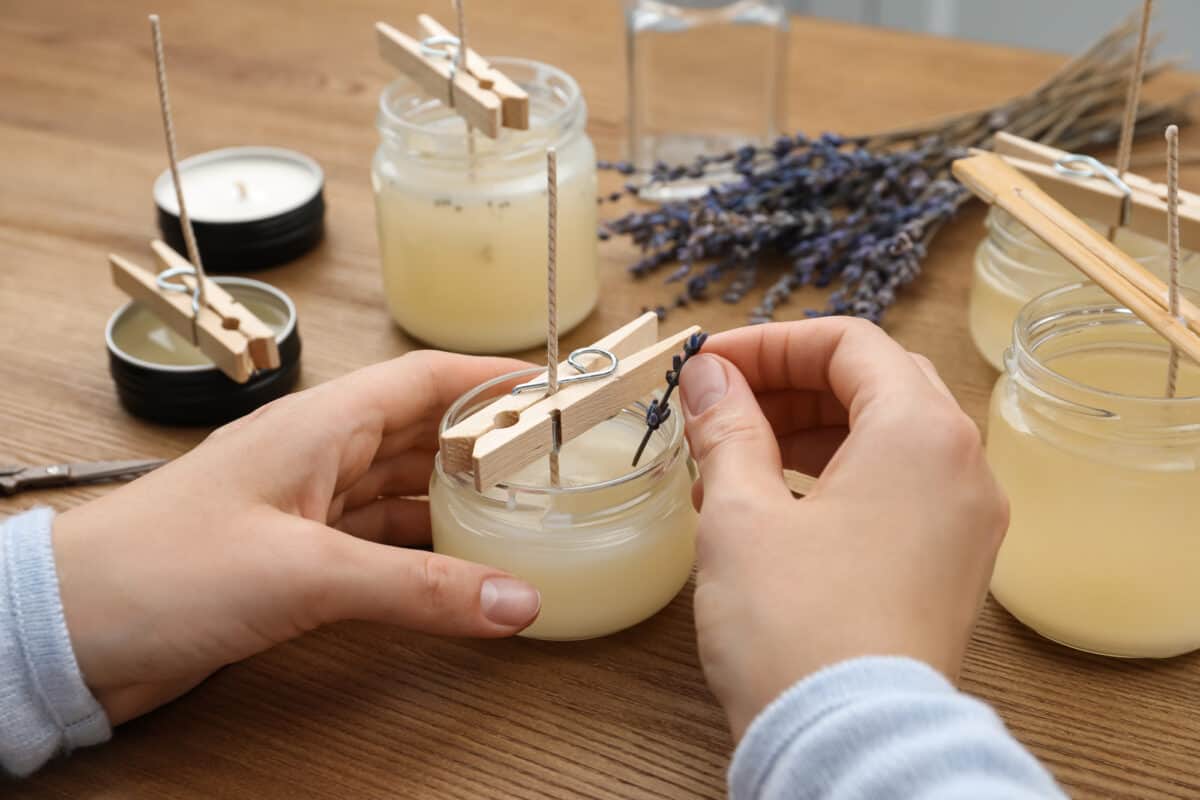
There are a few different ways to center your wick while your candle cools. You can use a metal object like a skewer, nail, or paperclip across the top of the jar (like in the image above). Or you can use a piece of string or dental floss. If you have neither of those things on hand, you can even use your finger! Just be careful not to get too close to the hot wax.
Once you’ve centered your wick, let the candle cool completely before moving it or lighting it. This will help ensure that your candle burns evenly and doesn’t tunnel. Try to leave it overnight.
Once the wax has cooled and hardened, trim the excess off the top of the wick.
Light and Enjoy Your Vegan Candle
The first step is to find a safe, flat surface on which to place your candle. You’ll also need a lighter or matches. Make sure the area around you is clear of any flammable materials.
Next, hold the candle at its base and light the wick with your lighter or match. Allow the flame to catch before letting go. If the flame extinguishes, simply relight it and try again.
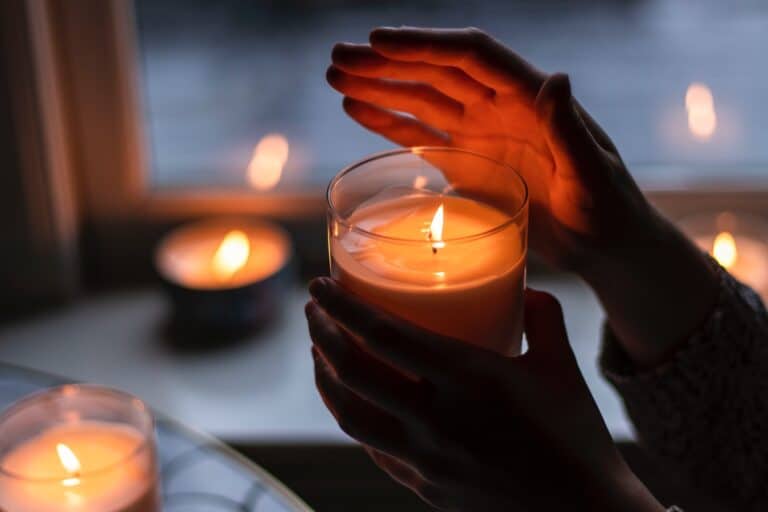
Now that your candle is lit, enjoy its gentle light!
The Best Way to Extinguish Your Candle
The best way to extinguish a candle is to dip the wick into the wax.
This will ensure that the flame is extinguished and that there is no risk of it reigniting.
So take a metal implement and push the lighted wick into the melted wax at the wick base then straighten the wick out.
This extinguishes the candle completely and has the added benefit that it is almost smokeless. Plus the wick will be really easy to light next time around.
FAQ
How to make sure candles don’t tunnel
One way to prevent candles from tunneling is by making sure the wick is always trimmed to ¼ inch. This allows the candle to burn evenly and slowly. When the wick is too long, it can cause the candle to tunnel.
Another way to prevent candles from tunneling is by making sure they’re always stored in a cool, dark place. Candles should never be stored in direct sunlight or near a heat source, as this can cause them to melt and deform. If you follow these simple tips, you’ll be sure to enjoy beautiful, long-lasting candles!
The biggest factor in tunneling though is a mismatch of jar size and wick size. If all your candles form a tunnel then increase the wick width. Or maybe it’s even time to introduce a second wick if you’re using a really wide container.
How often should you trim your candle’s wick?
You should trim your candle’s wick every time you light it. This will help keep the flame small and prevent soot buildup on the glass jar or tin.
Is it cheaper to make your own soy candles?
The cost of soy wax and wicks has gone up in recent years, so it’s not as cheap to make soy candles as it once was. However, you can still save money by making your own candles at home. Plus, you’ll have the satisfaction of knowing you made them yourself!
In addition to saving money, there are many other benefits to making your own candles. For example, you can control the scent, size, and shape of your candles. You can also choose eco-friendly materials like soy wax and beeswax. And if you’re really creative, you can even add embellishments like dried flowers or herbs!
Is it safe to make candles at home?
Yes, it is safe to make candles at home as long as you take some basic safety precautions. First, always use a heat-resistant container. Glass jars or metal tins work well. Second, be sure to use a wick that is made of natural fibers like cotton or hemp. And finally, never leave your candles unattended while they’re burning.
With these simple tips in mind, you can safely enjoy making your own candles at home!
How do you make a candle eco-friendly?
There are a few ways to make candles more eco-friendly. One way is to use soy wax instead of paraffin wax.
Soy wax is made from renewable resources and doesn’t produce harmful fumes when burned. Another way is to use beeswax instead of synthetic waxes. Beeswax is a natural product that is biodegradable and non-toxic. Finally, you can choose to use recycled materials for your candle containers and wicks. By taking these simple steps, you can help make candles more environmentally friendly!

